Grading in Feedback Studio - Turnitin
The grading toolbar is broken up into three tabs.
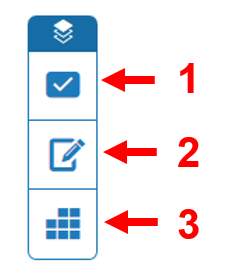
- QuickMarks
- Feedback Summary
- Grading Form
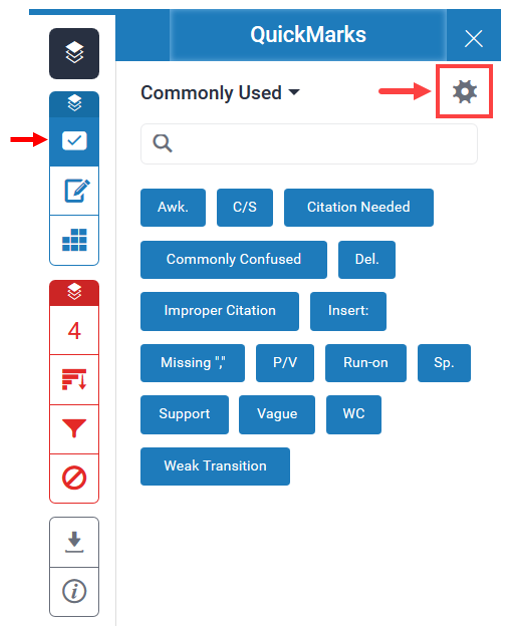
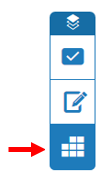
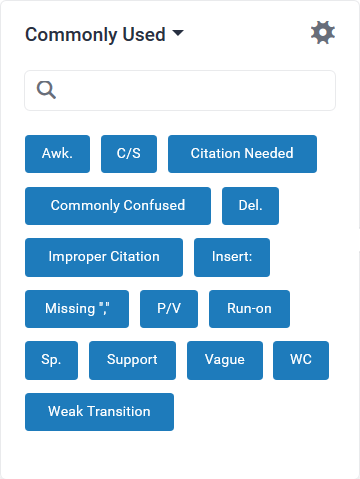
The QuickMarks tab allows you to view the repository of annotations built into the tool while also giving you the option to create your own annotations. Annotations will be used to add marks to the document (see Adding Marks to Documents below). All annotations are categorized into sets. Click Commonly Used to bring up a drop-down menu of the default sets. Choosing different sets will display different annotations.
For clarifications on what each QuickMark stands for, click the gear icon on the top right corner of the QuickMarks frame. This will bring up a pop-up window that will let you browse the library of annotations.
Click an annotation on the left to see a detail description of that annotation.
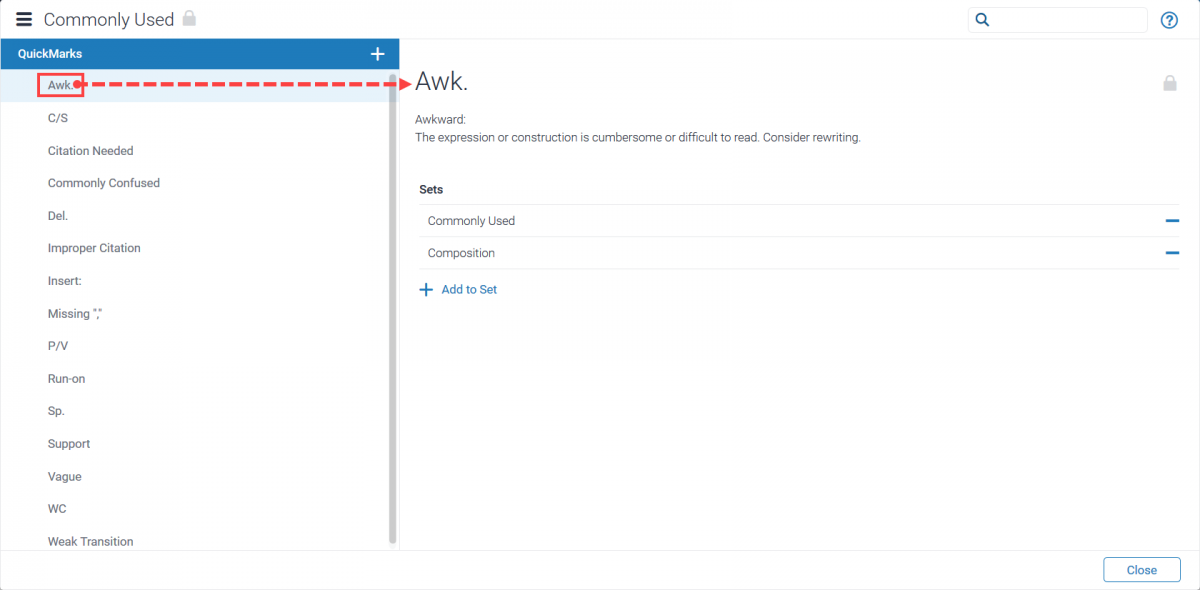
Notice that you are only viewing annotations within a specific set that is identified on the top left of the screen. Clicking the hamburger menu next to the name of the current set will bring up a menu of all available sets. Click any of the listed sets to switch the current view.
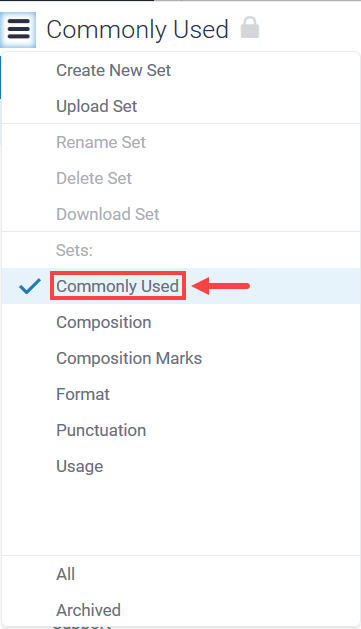
You will notice that this menu also allows you to create and upload new sets. For more information on creating and customizing your own annotations, click on the help icon on the upper right of the pop-up window to access a detailed tutorial of managing QuickMarks.
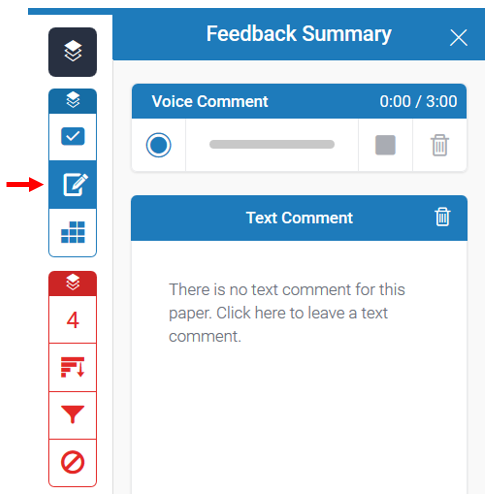
This tab lets you leave general feedback on the document by either recording a brief voice comment (3 minutes maximum) or writing a text comment (5000 character limit). Be sure to give the site permission to access your microphone when recording audio.
If you associated a rubric through Turnitin® for this dropbox, this tab lets you enter scores and comments for each criterion. To see more about creating and using rubrics through Turnitin®, see the Rubrics and Grading Forms Turnitin® guide.
To leave feedback on the document, highlight any portion of portion by left-clicking and dragging across the text you would like to address. This will bring up a small menu of the different types of feedback you can leave: a QuickMark, comment, or strikethrough.

Selecting a QuickMark will let you choose an annotation via the same navigation style detailed in the QuickMarks section above. Alternatively, you can use the search field to look for a specific annotation. Click on the annotation you wish to leave.
This will bring up a small pop-up menu with a description of the annotation. Scroll down below the description in this window to insert a comment for this annotation. If you created a rubric in Turnitin® for this assignment, you can tie this feedback to a specific criterion in your rubric by clicking Assign Criterion at the top of this window.
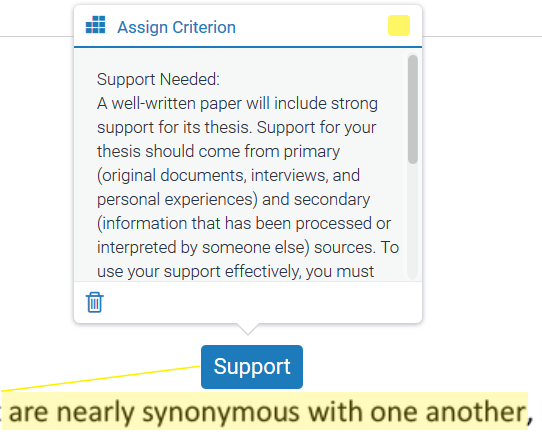
You can drag that annotation anywhere on the screen so that it doesn’t obstruct the text of the document. We recommend placing it somewhere near the associated text for clarity. Notice that when you move your cursor over the annotation, it highlights the associated text.
Selecting a comment will allow you the leave feedback without an annotation while selecting a strikethrough will simply strikethrough the text.

You can also click on anywhere on the document to leave a Quickmark, comment, or inline text. Leaving in-line text is a good way to clarify any strikethroughs (e.g., correcting spelling errors). Please note that adding Quickmarks, comments, or inline text by clicking anywhere on the page will not associate the feedback with any text in the document.

QuickMarks and Comments can be deleted by clicking the delete icon within the small windows for both annotation types.
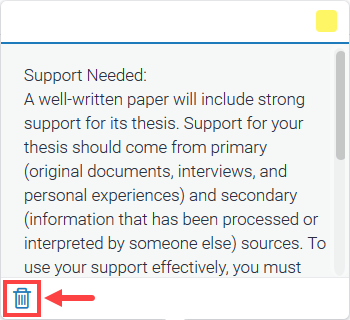
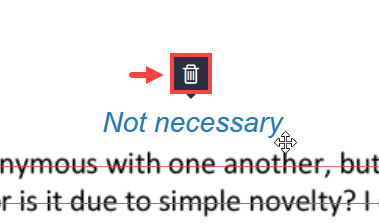
Strikethroughs and inline text can be deleted by hovering your cursor over the strikethrough or inline text and clicking the pop-up delete icon.
