


Creating and Editing Web Pages
The page content type is the most basic type of content in our Content Management System.
You can follow the below steps:
- Enter the Drupal dashboard and click the Groups tab.
- Click on the Group you want to add content to.
- Click on the Nodes tab to view all of the existing content for the group.
- Click the Add new content button and select a Basic Page from the list.
- Enter the Page Heading and Title and save.
Title and Header Information
The page information fields manage the title and taglines of your page.
- Page Heading: The first header of the page's content.
- Page Title: The title of the page in the browser window.
- Tag Line: Creates a subtitle/tag line that populates a line of text directly below the page header. This field is optional and if left blank, no tag line will be added.
Editing the Page's Content
In the main content editor area, there are three tab blocks.
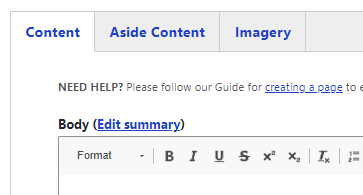
- Content: For editing the main content associated with the page.
- Aside Content: For adding content to the left and right hand-columns of the page. Edits to these areas will not show up until the page is properly published. If you do not include any right sidebar content, the page will become two columns instead of three. When using social media accounts, please ensure you've notified the Office of Marketing and Communications so they can properly set up your accounts in the Content Management System.
- Imagery: Available to your area's group leads, the imagery tab allows for management of the page's image banner.

The editor in the 'Content' block exhibits the familiar tools you'd find in a word processor. Hovering over any buttons will reveal a short tooltip for their user. Note that there are options for adding links, inserting media, inserting templates, and more. Some of the options are explained more in depth below.
The Insert from Media Library button allows you to upload a new media, or select from existing media in the Drupal media library.
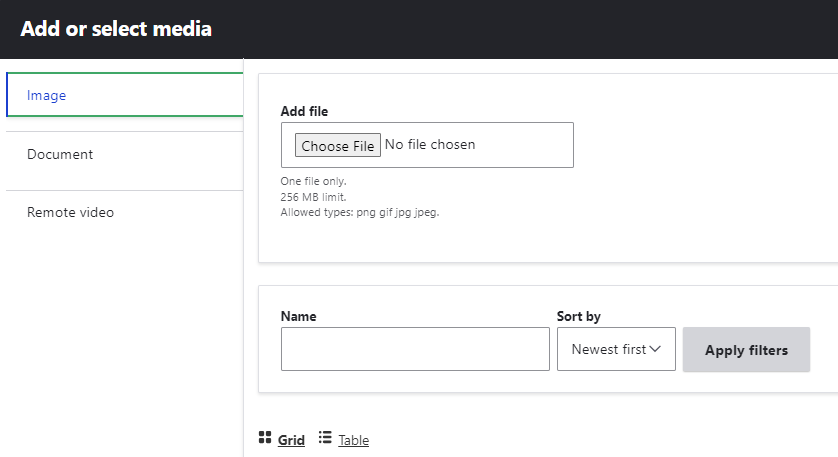
- Add file: Here you can add a file to the media library from your local devise.
- Browse Server: Click the 'Browse Server' button to upload or select an existing image on the server. You'll be met with a new window showing the groups you are associated with on the left column, and the image files in their repository on the right. If the image you would like to use is listed here, highlight it and click insert file. If you're uploading a new file, click the upload button and file the prompts. After uploading you'll need to select the image and then insert file.
- Alternative Text (alt-text): this field is REQUIRED for all images used on the campus website. It should be succinct, presenting an accurate and equivalent text description of the content and function of an image. Useful information on alt-text can be found at WebAim.
- Width and Height: to change the default width and height of the image, editing either of these numbers will change both values. The aspect ratio is controlled by the small lock icon. If changed, the circular 'back' button next to the lock will revert.
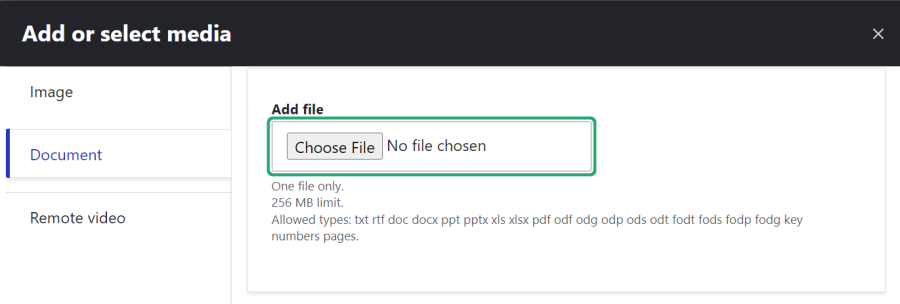
The insert media button is also used to upload a document (such as a pdf, spreadsheet or word file). Highlight the text or image you'd like to link to a document, click the link button on the toolbar, and then select browse server.
In the resulting window ensure your group is selected in the navigation panel and:
- Click the 'Document' tab
- Select 'Choose File'
- Find the document in your file explorer
- Upload and 'Insert Selected'
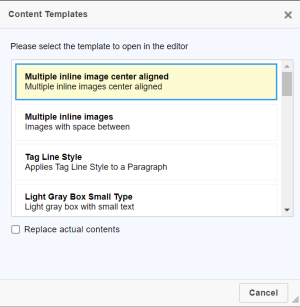
The 'Insert Template' buttonwill bring up a pop-up window of pre-compiled template assets. Selecting one of these templates will insert it in the editing box at the location of the cursor. Note: the 'Replace actual contents' is selected by default. Selecting a template with this checked will replace any existing content. This can be undone by clicking the undo button on the toolbar.
- Clicking the icon will bring up a pop-up window of pre-compiled templates.
- Click the template you want to use and be sure to uncheck 'Replace actual contents' to avoid wiping previous work.
The dropdown menu below button labeled "Paragraph Format" allows the user to select different formatting techniques for their content.
- Clicking the dropdown menu will give you different ways to format your text.
- Click the format you want to use to apply the change.
- Note that headers should only be used as page section titles -- not simply for styling text.
Supplemental Page Information
After the main editing block there will additional important questions that will help shape your page.
- Show Published Date: As it implies, will place the published date on your page's content right below the first header.
- Show Related Content/Keywords: Currently under development and unavailable.
- Groups: Select your group to ensure the proper navigation and template is applied to your page. This field is required.
- Revision Information: The 'Revision Log Message' is text that can be shared amongst editors about the status of the page. This text only shows up within the editor's monitoring page, not public to users. The moderation state will save files in the following states depending on your user level, 'Draft', 'Needs Review', or 'Published.'
Saving, Drafts and Publishing
You can save your page at any time in a unpublished state by clicking the 'Save' button at the bottom of the page. At a minimum you will need to include the page title/header information and select your group.
After saving your page, the page will refresh. You'll find a group of tabs which is only visible to logged in editors with access to the page, and not publicly visible to others browsing the site.
